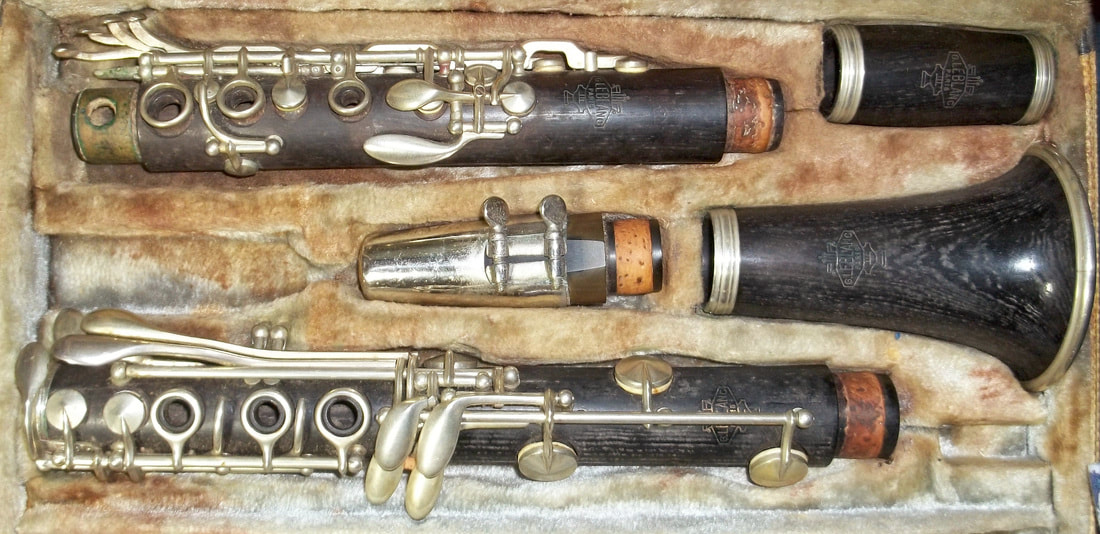
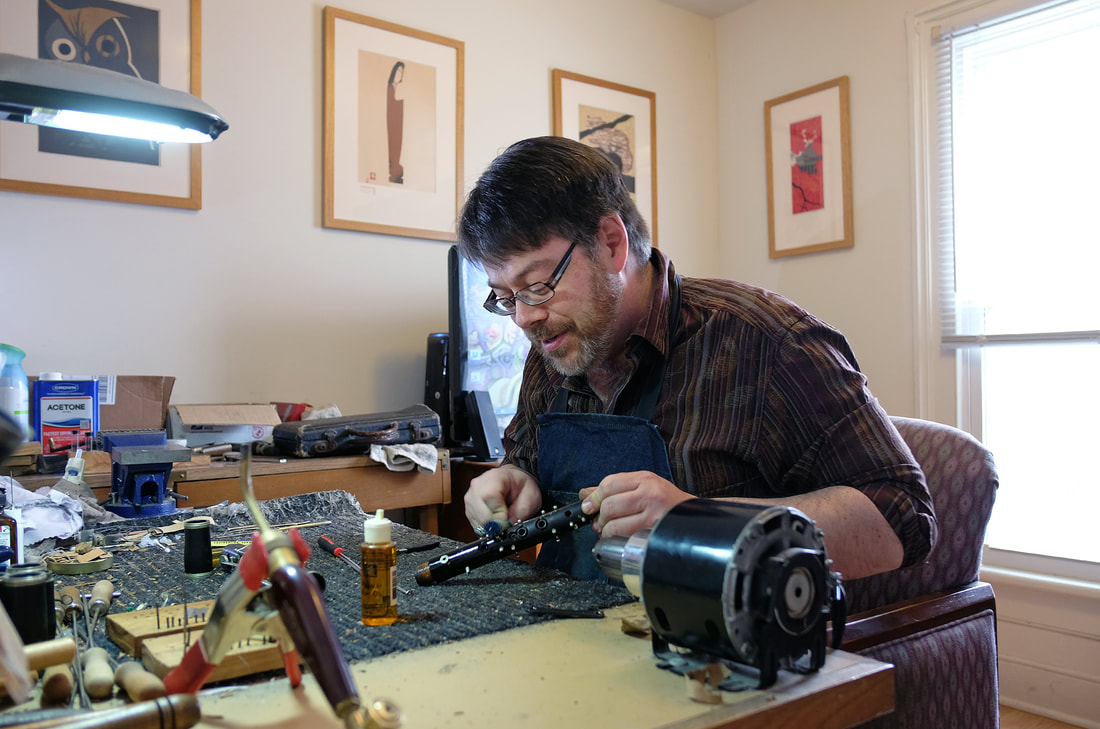
 A few people a year write and ask how they can repad their own horn, and, after a decade in this business, I am still struggling to come up with a reply that is wise, kindly, succinct, helpful... After all, you just take it apart, get some pads from somewhere, glue them in with something, and reverse the procedure, right? Job over. The frightening truth is that, with companies like Ferree and Music Medic, its easier than ever to order pad sets, cork and all the specialized tools you'd need to do the job...well, I wouldn't say right, but perhaps passably: If you're a handy, organized person and have a recent plastic Yamaha clarinet in front of you, you might do OK. Take all the keys off (don't get all those little rods mixed up!), replace a few pieces of cork (make sure to get the thickness right!), wash the body, take out the old pads, pop in the new ones with a hot glue gun (don't forget to level them so they seal when you reassemble!), put it all back together (don't forget to synchronize the keys that open or close together!). Are you done? On that horn, you might be. But what if you decide to tackle an older, pro instrument - something that you really will want to play, like the 7 ring wooden Leblanc pictured above? Its gorgeous and it was so cheap on eBay... Congratulations, you've just entered Hell!
0 Comments
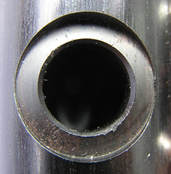 Tone-hole Re-Facing On older wood clarinets, tone-holes suffer from a variety of problems. Years of adjustment and overhauls (especially careless ones) can leave small nicks and gouges around the rim of the tone-holes, causing tiny leaks. It might not seem like a big deal, but multiply that by every tone-hole on the clarinet… As the instrument ages, it dries and shrinks: as it heats and cools, it flexes. A tone-hole that was cut flat into a curved surface 50 or 80 years ago has often developed all kinds of minor warps which, when they meet a perfectly flat pad surface (if there is such a thing!) fail to contact evenly all the way around, causing yet more sealing issues. The only way to effectively solve these problems is to re-cut the rim to its original contour.A special set of cutters is used to remove just a few thousandths of an inch of material, eliminating nicks and rendering the tone-hole flat again, allowing for the best possible seal. Key realignment Along with tone holes, keys get knocked about pretty badly and can end up with distorted pad-cups: bent to one side or the other, higher on one side than the other, misaligned with the tone hole, etc. Added to swedging and countersinking, it makes a huge difference in the final play-ability of the instrument! I often take a small anvil and make sure that each pad cup is flat before I put in the new pads.... The Pads I prefer to use Pisoni pads of tan kidskin. I also use pads of solid cork, which I bevel for each application. My personal preference is kidskin pads, with cork pad on the register key. Sometimes I add them on F#, C#, side Bb and some trill keys. Why is this? Well, cork pads have their pros and cons: they last forever, but they are noisier in operation. They make a great seal, but only on a clean flat tone-hole. On a loose (un-swedged) key, they are a positive liability. They are reflective because they are a harder material than felt, but can create an 'over-bright' sound if used exclusively. Used on the register, A and Ab, they brighten the pesky throat tones. So, if I have a stuffy C# or a side Bb that doesn't speak as clearly as its LH equivalent, I use a cork pad as part of the voicing process. Who wants a dull note in the middle of a sparkling passage? Not you! Spring Balancing Uneven springing is a bit like walking around in only one shoe: it slows you down and affects your balance! By increasing or decreasing tension on individual springs, it is possible to make the instrument feel more 'even' overall and, hence, easier to play quickly and smoothly. Aside from evenness, it is possible to give the whole instrument a 'heavier' or 'lighter' feel, as the player prefers. Flabby and slow, or stiff and heavy, both come between you and the music! Re-gilding logos A nice final touch - I use a gold furniture crayon to fill the original logo and wipe hard to leave a sharp look..  Many techs who routinely repair only band grade instruments have neither the time, the knowledge, nor the specialized tools to complete all these tasks, and little incentive to acquire them: At the $60 an hour that the average shop currently charges (plus supplies), a $600 bill wouldn't be out of the question and few customers are discerning or serious enough to make this kind of commitment to their instrument. Trying to explain why all this is necessary frequently got me looks suggesting that I was peddling Snake Oil: We are, after all, a nation of bargain hunters, and quality work is no bargain! However, once your older instrument has been thoroughly overhauled in this manner, you can be assured that, not only is it playing its best, but that it will require little maintenance other than oiling, adjustment and occasional pad replacement for years to come! Below I include some technical definitions for the curious and foolhardy... Swedging/Countersinking As clarinets age, the keys get loose from wear and dirt: metal is actually ground away at each end where it rubs against its post! Once the problem becomes severe enough, pads will no longer align properly with toneholes (causing leaks) and the whole instrument will have a loose ‘clackety’ feel. Swedging, which is the technique used on keys with a through rod, is the process of compressing the metal at the end of the key to extend it and bring it back tight against the post. For solid keys that pivot on a screw, we countersink: slightly deepening the hole in the post until the point of the screw once again makes firm contact with the key and keeps it from shifting. Properly done, it can restore an “almost new” feel to the mechanism, help eliminate leaks, and quiet the instrument... OILING Most of the instruments that I receive are pretty dry, and the first thing I do, after disassembly, is coat them inside and out (not forgetting the tone holes) with a good grade of bore oil. Then they get a few days to rest, with re-applications of oil until they stop absorbing. Rehydrating the wood helps cushion it against cracking due to moisture absorption, thermal shock, etc. and gives it a better chance at a new life... BUFFING With solid nickel alloy or nickel plated keys, there is no way to remove 40 years worth of greenish-grey, crusty oxidation other than buffing - period: I don't want to see one more horn with silver polish residue under the keys! A high speed buffer with white lime compound will return a key to brand new in seconds, and take years off the wood body as well - just watch those toneholes and logos, and try not to break any springs... To be continued....  For the many years before the Vintage Clarinet Doctor did repair, I'd turn one of my instruments over to a repairman with mingled optimism and dread. Does he know what he's doing? What does 'overhaul' really mean? Why does one person charge significantly more than another? Are there any approved procedures or industry standards, or does anything go? I'd like to address a few of those concerns and try to shed light on some of the mysterious things that a good tech does (or should do) to a horn. On a newer plastic student horn, a re pad might only include dis-assembly, washing the body, quickly hand-ragging the keys, replacing missing corks, replacement of all pads, reassembly and adjustment: about a 2 1/2 hour job for about $150. For an instrument with fresh tone-holes, snug posts, tight mechanism, shiny nickel plated keys and recent springing this might be sufficient, especially if its going into the hands of an 11 year old of indifferent ability. An overhaul, on the other hand, would include everything necessary to return the instrument to as close to 'like new' playability as is feasible (sometimes extraordinary measures are not justified by the value of the instrument), and address the preferences of the more advanced player in question. This might include: Swedging/countersinking the key-work to remove lost motion, re-facing of tone-holes to assure optimal pad seat, tightening of posts, replacement of all cork (including adjustment of opening height to regulate tone and intonation), thorough oiling of body, buffing of body, posts and keywork, polishing of the bore, straightening or leveling of bent keys, key cups and rods, realignment of keys with tone holes, replacement of weak springs, repair of small cracks or chips, installation of a mix of high quality double bladder/leather and cork pads, reassembly and adjustment, and re-gilding the logos! Total of 6-10+ hours depending on age, complexity of mechanism, and condition. To Be Continued.... |
Archives
February 2024
AuthorThe Licorice Shtick Blog is the creation of the Vintage Clarinet Doctor, a Winston Salem, NC based woodwind instrument repair shop specializing in vintage and antique clarinets, saxophones, and the occasional flute. Categories |
 RSS Feed