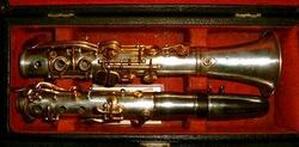
 This idea for a post came from a customer question: 'How can I tell the difference between LP and HP clarinets?" Its a damn good question! For those of you who aren't familiar with the terms, LP stands for Low Pitch (A=440) and HP for High Pitch (approx. A=456). The latter was a pitch system in use in Europe in the late 19th/early 20th cen, and crossed the ocean with emigres bearing clarinets. Thankfully, it died out in the 30's, as the two systems are about a quarter tone apart and little or nothing can be done, (with longer barrels, etc.), to reconcile the two! You'll see these poor beasties on eBay with some frequency and they always have a lonely, under-appreciated look to them, generally selling for $30 or $40 to someone who didn't ask for markings or measurements and thinks they're getting a hell of a deal! Well, they are, after a fashion: I've had a couple show up here and had to sit the owners down, with a box of Kleenex, and explain the harsh realities of multiple pitch systems to them. The sad thing is that identification is not difficult! In the 1920's, with LP ascendant and HP on the way out, most instruments were marked one or the other on the main body sections. Before that, especially with European made instruments, you have to depend on measurements. A modern Bb clarinet is 23 3/8" assembled, without the mouthpiece. I've seen older examples that varied from 23 to 23 1/2", but nothing longer or shorter than that. By the time you're down to 22 7/8 or a bit less, you're looking at a Bb HP. Shun it! Run away! It will make a wonderful lamp or doorstop, but its days as a musical instrument are sadly past, unless you like playing clarinet by yourself... which is a shame, as some of them are wonderful players! Here on my website, I have provided a chart of lengths for HP and LP clarinets in all the common keys (and a couple rare ones). The URL is https://www.thevintageclarinetdoctor.com/clarinet-lengths.html , if you'd like to check it out..
0 Comments
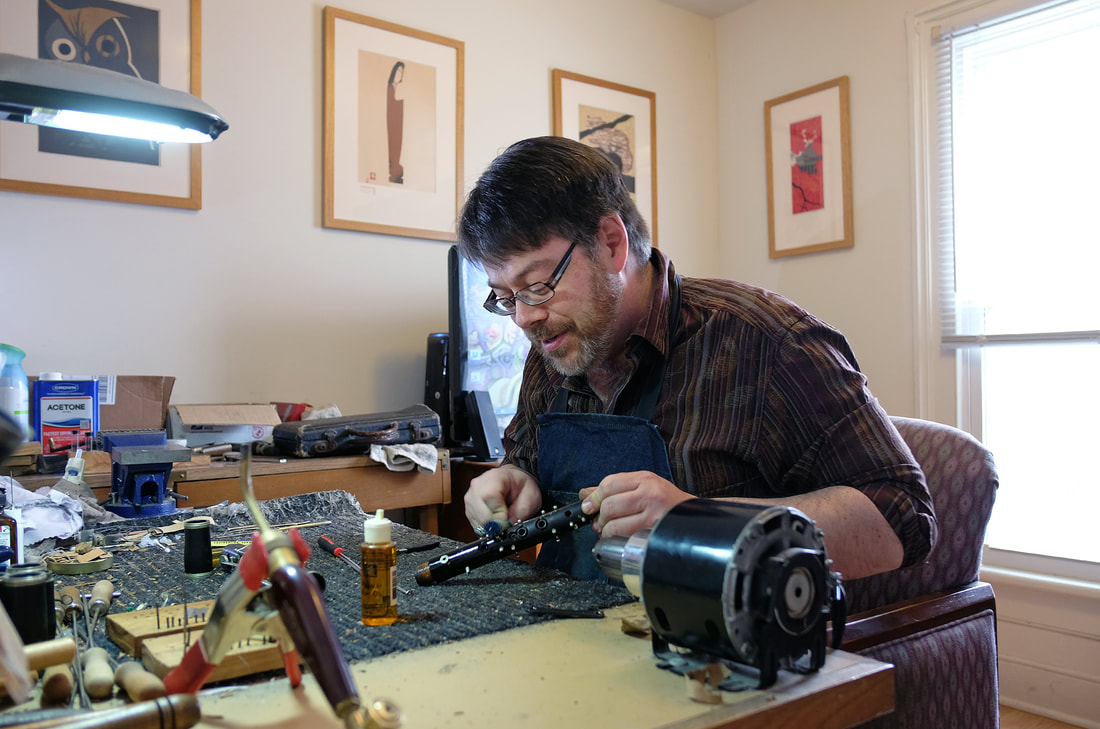
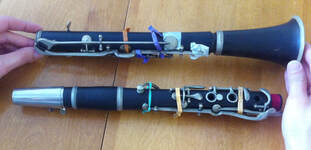 OK, everything is buffed, clean and corked: now, pads. I like tan kidskin or white Roo leather instead of the traditional fish bladder: they last longer, seal better on older (uneven) tone holes, give a feel that is more similar to a fingertip and don't show dirt/wear as quickly. I separate out the pile of keys and start sizing new pads. Then, a dab of hot glue in the key-cup and the pad is pressed evenly into place. It takes practice to use just enough glue to get it far enough into the cup to close, but not so far that the back is open when you go to adjust! A final check of bodies, posts, springs, etc. and then I start reassembling, generally doing both stacks at the same time, working on one while the other has a pad clamped and cooling. I put the key on the instrument, making sure that it is a snug fit but not binding and that the rod/screws are clean and oiled. Also, make sure that the key-cup is centered over the tone-hole and isn't higher on one side than the other; you'd be amazed what these go through in half a century or more! Heat the pad cup for a couple seconds with the torch, use a pad slick to give the pad a twist and level it, check for even coverage with a feeler, then clamp lightly (I like flute pad clamps) for a minute and on to the next key. Once all the keys are on and the pads are seated, I do simultaneous adjustments: upper A/Ab, (screw adjustment if you're lucky!), crows foot on the lower body. Removing lost motion while allowing pads to close at the same time with exactly the same amount of pressure is the trick. OK, everything closes, seals and is properly adjusted - you're done! Oh, wait a minute; there's the play test and final adjust.... 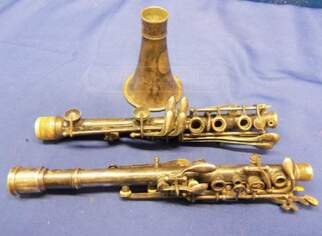 Continued... OK, the previous post covered tear-down and preparation, now let's cover cleanup and rebuild: I have a box full of body parts and keys in front of me; time to clean them! I rag the keys to remove the buffing compound residue, and give a final polish with a silver polish cloth. Strips of the same cloth are used to get in and around the posts and remove schmutz from the wooden pieces, as well. Don't forget to clean (and, if need be, polish) the bore and give it a light oiling! Once all is clean, I go over the body to see if any tone-holes need attention: if they all look crisp, I'm good to go. If any show dings, nicks, or roughness from the original cutter being a little dull, I take out a special set of re-facing tools and take just a couple thousandths off the tone-hole, removing any damage and restoring the sharp, clean edge. This really helps with pad seat and seal, especially on older horns that've received a few (less than ideal) overhauls! This is also a good time to check posts again for tightness, make sure all the springs are good, and re-gild the logos if they look worn - it really sharpens up the look of the finished job! The next step is re-corking the keys and body: if you've buffed, those corks are toast! Sort those keys into piles for the right thickness of cork, clean off traces of old cork and adhesive and hit the appropriate spot with a coat of rubber cement. I use 4 or 5 different thicknesses of cork to get the keys to open and close to the proper degree - this is important! Not open enough and the note sounds stuffy and plays flat; too open, and the note sounds harsh/plays sharp and gives the player a feeling of wasted motion. This is a critical part of assuring that the finished horn has good intonation and even tone and mechanical response! For corking the body tenons, I measure the inside diameter of the opposing socket and the outside diameter of the tenon slot with vernier calipers and figure what thickness of cork will provide a snug fit without being thick enough to risk cracking the body when I put it back together! Oh, did you remember to tighten those body rings if they were loose? They often are from wood shrinkage, and that's where body cracks come from.... To Be Continued..... 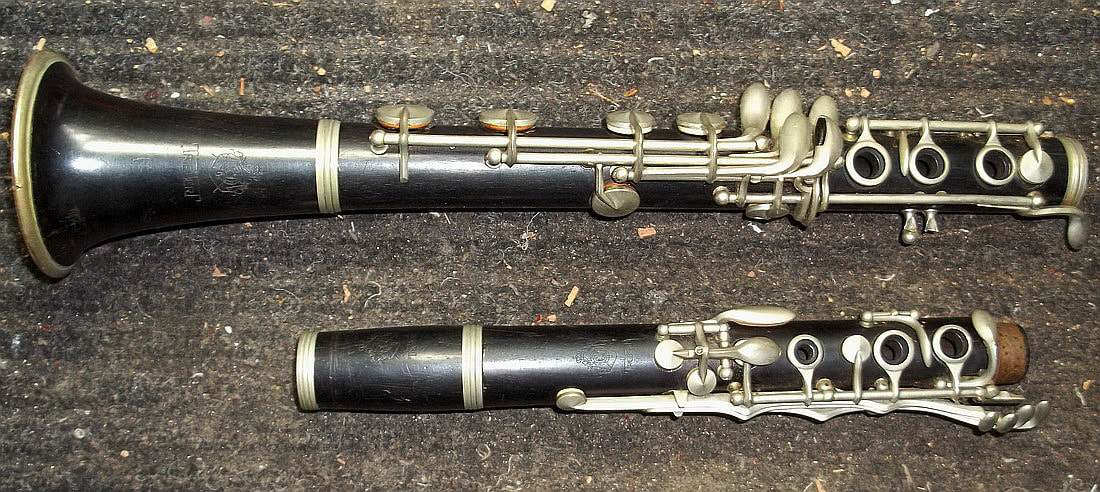 Continued... Well, here's where it gets interesting (if not long before). When I get it on the bench and start looking it over, here are some things that I'm looking for/thinking about: "Man, does this case reek - did something die in here? Can't put a finished horn back in this cesspool - out goes the case..." "Can I even get it this horn apart?" Are any rods or screws rusted in? Heat, oil, perfect screwdriver...heat oil, perfect screwdriver, pray, curse....cut into post, remove damned rod surgically, replace post from junk box, maybe make new rod from scratch, if I don't have one that fits (with threads that match) in the junk box.... "Is the key work tight or loose and rattily?" If the latter, it needs to be swedged and/or countersunk to tighten it up: more specialized tools, and some practice and instruction to avoid seriously botching the job. This needs to be done before you pad, as it will affect the final seat of the pad! This is almost always necessary on any horn more than about 30 years old, and yet I'm surprised how often I see full overhauls done with loose, rattily key work! "Are the keys dull, oxidized or worn?" Nickel silver (or nickel plating) is a wonderful but obdurate alloy - you can't really polish it, you have to buff! Downstairs to that fast, powerful 2 wheel buffer - hope you have one (and the right wheels and compounds) and know how to use it without hurting yourself or wrapping that key around the shaft...ouch.. "Now, how does the wood look?" Any cracks or chips? Better fill or pin those, file, sand... Most instruments don't get enough bore oil and, if they've been in storage for 20+ years, they REALLY don't get enough oil. Better coat all 4 pieces inside and out with a good grade of bore oil; and coat, and re-coat....sometimes for days or weeks.. Any loose posts from dry wood shrinkage? Better tighten those so the keys don't bind when I reassemble... Any broken or worn out springs? Better replace those... Hope I have the right size or one of my suppliers still carries them... Time to buff the body (avoiding those delicate logos, of course): back downstairs and try to get the posts and body nice and shiny without breaking any springs...whoops... To Be Continued.... 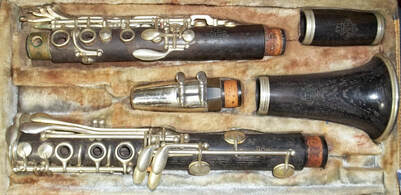 A few people a year write and ask how they can repad their own horn, and, after a decade in this business, I am still struggling to come up with a reply that is wise, kindly, succinct, helpful... After all, you just take it apart, get some pads from somewhere, glue them in with something, and reverse the procedure, right? Job over. The frightening truth is that, with companies like Ferree and Music Medic, its easier than ever to order pad sets, cork and all the specialized tools you'd need to do the job...well, I wouldn't say right, but perhaps passably: If you're a handy, organized person and have a recent plastic Yamaha clarinet in front of you, you might do OK. Take all the keys off (don't get all those little rods mixed up!), replace a few pieces of cork (make sure to get the thickness right!), wash the body, take out the old pads, pop in the new ones with a hot glue gun (don't forget to level them so they seal!), put it all back together (don't forget to synchronize the keys that open or close together!). Are you done? On that horn, you might be. But what if you decide to tackle an older, pro instrument - something that you really will want to play, like the 1950's 7 ring wooden Leblanc pictured above? Its gorgeous and it was so cheap on eBay... Congratulations, you've just entered Hell! 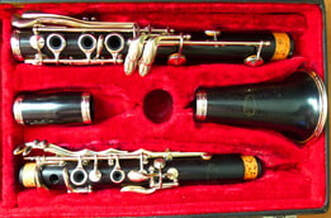 Just finished this M. Lacroix Bb Boehm clarinet and it plays so well that I'm wondering if anyone knows who made it? Was Lacroix a maker or is this a stencil? It reminds me a lot of a Thibouville Freres, both in construction quality and response. It has thick ring keys, post lock-downs on the lower stack and the lowest (double) post on the upper stack is silver soldered to a bar with 2 screws in the body - much like Selmer or Buffet - rather than just screwed into the body like many contemporaries. It also has a leaf spring under the C#, screw adjustment for Ab/A, and 2 posts for the LH pinky keys rather than one. I've done some looking around online and found no info. This is too good a horn to remain anonymous! Tone is warm and focused, intonation is good, response is very even through the registers and the throat tones speak well. You could spend a lot of money today to get as good an instrument! Would love to hear from anyone with inside information :) |
Archives
February 2024
AuthorThe Licorice Shtick Blog is the creation of the Vintage Clarinet Doctor, a Winston Salem, NC based woodwind instrument repair shop specializing in vintage and antique clarinets, saxophones, and the occasional flute. Categories |
 RSS Feed