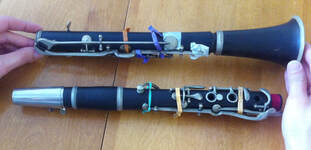
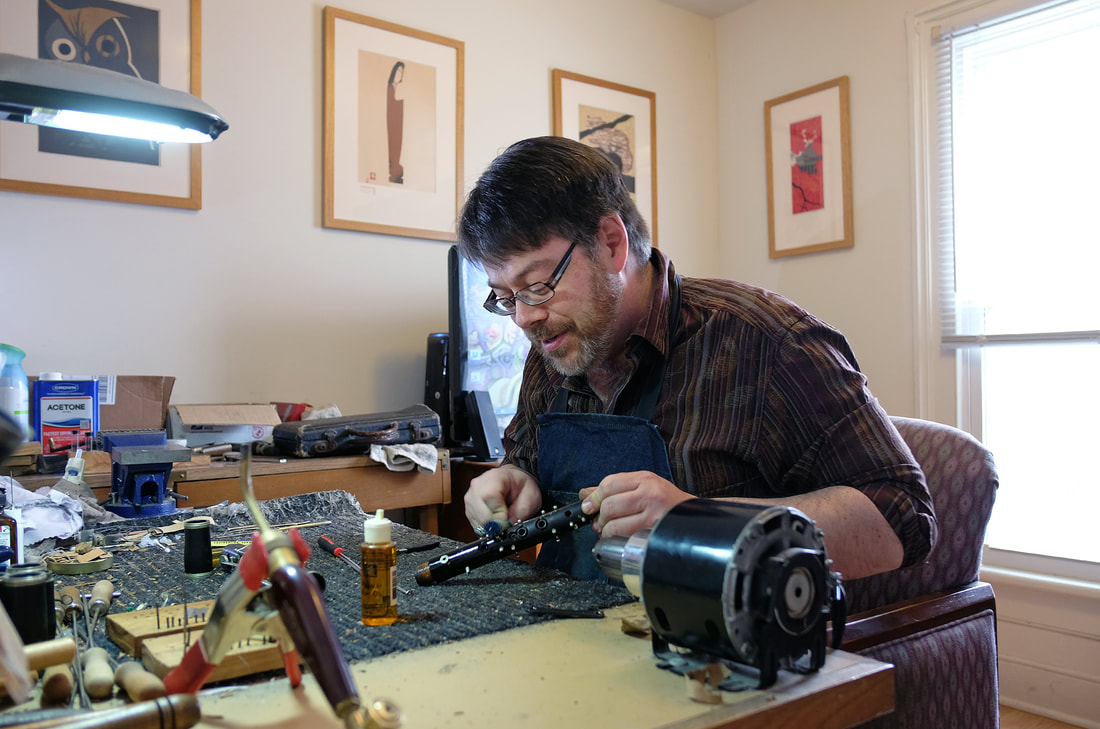
 OK, everything is buffed, clean and corked: now, pads. I like tan kidskin or white Roo leather instead of the traditional fish bladder: they last longer, seal better on older (uneven) tone holes, give a feel that is more similar to a fingertip and don't show dirt/wear as quickly. I separate out the pile of keys and start sizing new pads. Then, a dab of hot glue in the key-cup and the pad is pressed evenly into place. It takes practice to use just enough glue to get it far enough into the cup to close, but not so far that the back is open when you go to adjust! A final check of bodies, posts, springs, etc. and then I start reassembling, generally doing both stacks at the same time, working on one while the other has a pad clamped and cooling. I put the key on the instrument, making sure that it is a snug fit but not binding and that the rod/screws are clean and oiled. Also, make sure that the key-cup is centered over the tone-hole and isn't higher on one side than the other; you'd be amazed what these go through in half a century or more! Heat the pad cup for a couple seconds with the torch, use a pad slick to give the pad a twist and level it, check for even coverage with a feeler, then clamp lightly (I like flute pad clamps) for a minute and on to the next key. Once all the keys are on and the pads are seated, I do simultaneous adjustments: upper A/Ab, (screw adjustment if you're lucky!), crows foot on the lower body. Removing lost motion while allowing pads to close at the same time with exactly the same amount of pressure is the trick. OK, everything closes, seals and is properly adjusted - you're done! Oh, wait a minute; there's the play test and final adjust....
0 Comments
Your comment will be posted after it is approved.
Leave a Reply. |
Archives
February 2024
AuthorThe Licorice Shtick Blog is the creation of the Vintage Clarinet Doctor, a Winston Salem, NC based woodwind instrument repair shop specializing in vintage and antique clarinets, saxophones, and the occasional flute. Categories |

 RSS Feed