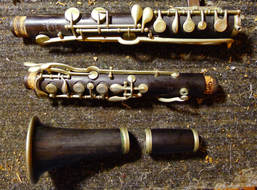
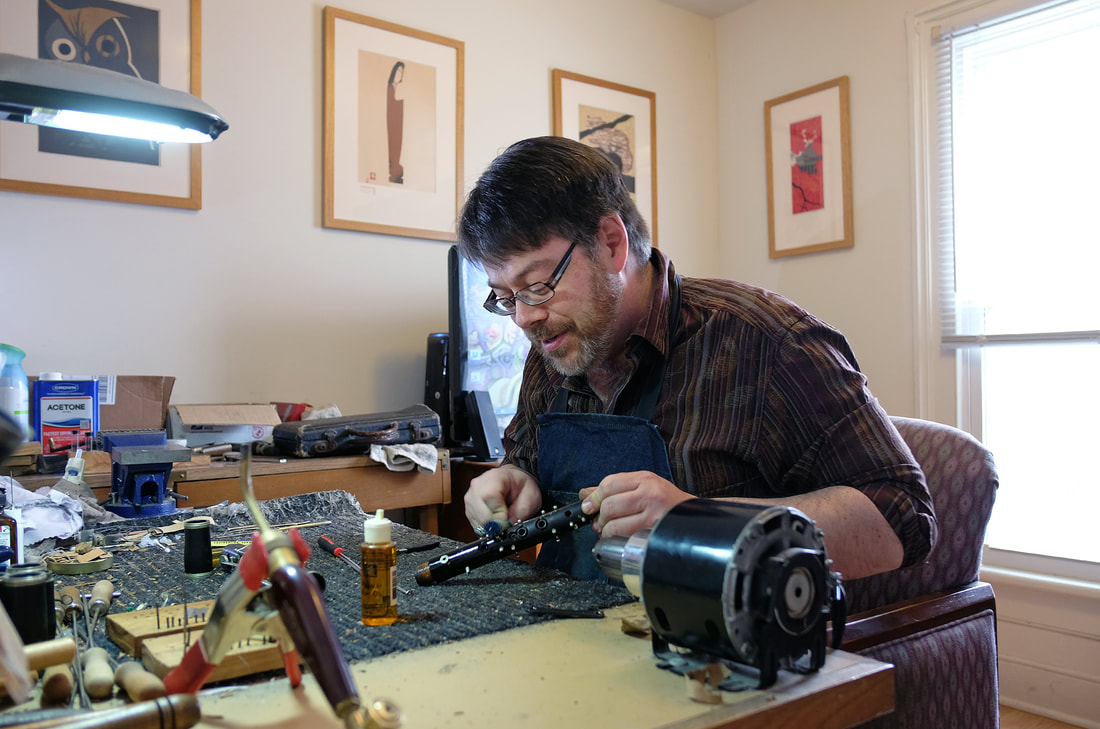
 Continued... OK, the previous blog covered tear-down and preparation, now let's cover cleanup and rebuild: I have a box full of body parts and keys in front of me; time to clean them! I use solvent to get the buffing compound residue off the keys, and give a final polish with a silver polish cloth. Strips of the same cloth are used to get in and around the posts and remove schmutz from the wooden pieces, as well. Don't forget to clean (and, if need be, polish) the bore and give it a light oiling! Once all is clean, I go over the body to see if any tone-holes need attention: if they all look crisp, I'm good to go. If any show dings, nicks, or roughness from the original cutter being a little dull, I take out a special set of re-facing tools and take just a couple thousandths off the tone-hole, removing any damage and restoring the sharp, clean edge. This really helps with pad seat and seal, especially on older horns that've received a few (less than ideal) overhauls! This is also a good time to check posts again for tightness, make sure all the springs are good, and re-gild the logos if they look worn - it really sharpens up the look of the finished job! The next step is re-corking the keys and body: if you've buffed, those corks are toast! Sort those keys into piles for the right thickness of cork, clean off traces of old cork and adhesive and hit the appropriate spot with a coat of rubber cement. I use 4 or 5 different thicknesses of cork to get the keys to open and close to the proper degree - this is important! Not open enough and the note sounds stuffy and plays flat; too open, and the note sounds harsh and plays sharp. This is a critical part of assuring that the finished horn has good intonation and even tone, and every brand/model of horn is slightly different! For corking the body tenons, I measure the inside diameter of the opposing socket and the outside diameter of the tenon slot with vernial calipers and figure what thickness of cork will provide a snug fit without being thick enough to risk cracking the body when I put it back together! Oh, did you remember to tighten those body rings if they were loose? They often are from wood shrinkage, and that's where many body cracks come from.... To Be Continued.....
0 Comments
Your comment will be posted after it is approved.
Leave a Reply. |
Archives
February 2024
AuthorThe Licorice Shtick Blog is the creation of the Vintage Clarinet Doctor, a Winston Salem, NC based woodwind instrument repair shop specializing in vintage and antique clarinets, saxophones, and the occasional flute. Categories |

 RSS Feed