THE VINTAGE CLARINET DOCTOR
  • Home
    • About Us
    • Clarinet Donations
    • Why Vintage Clarinets?
  • Before and After
  • Contact Us
  • Learn
    • Blog
    • Clarinet Lengths
    • Clarinet Makers
    • Fingering Systems
    • Links
  • Shop
    • Clarinets >
      • Vintage Jacques Albert Fils Brussels Bb Boehm Clarinet
      • Vintage Buffet Crampon Academy Model Bb Boehm Clarinet
      • Vintage Fernand Chapelain Bb LP Albert System Clarinet
      • Vintage Siour Chapelain Paris Bb Boehm Clarinet
      • Vintage Couesnon & Cie A Paris Bb Boehm Clarinet
      • Vintage J. Gras Paris Bb Boehm Clarinet
      • Vintage Lacroix C LP Albert System Clarinet
      • Vintage Leblanc CB Bb Boehm Clarinet
      • Vintage Leblanc Noblet Bb Boehm Clarinet​
      • Vintage Rampone Cazzani Bb Boehm Clarinet
      • Antique Henri Selmer Bb Boehm Clarinet
      • Vintage Triebert C LP Albert System Clarinet
    • Flutes
    • Mouthpieces
    • Saxophones >
      • Vintage Dolnet Series II Bb Tenor Saxophone
      • Vintage Holton Model 201 Eb Alto Saxophone
      • Vintage Kohlert Eb Alto Saxophone
  • Services
    • FAQ
    • Services II - Technical Info
  • Testimonials

Don't Do It Yourself Pt. 4

7/24/2018

0 Comments

 
Picture
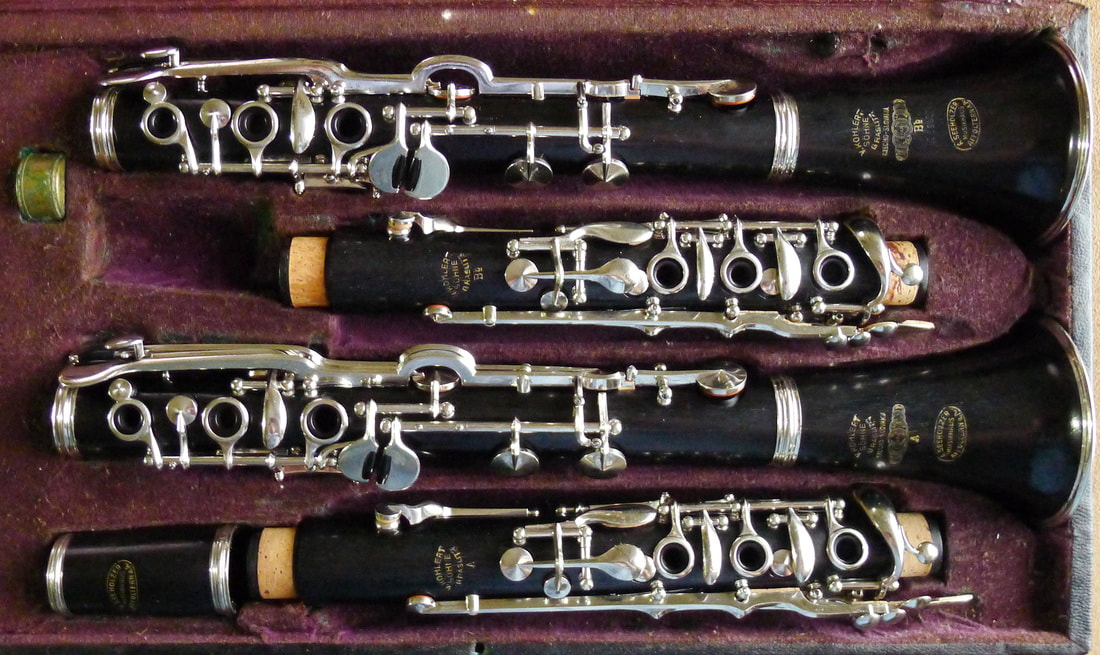
OK, everything is buffed, clean and corked: now, pads.

 I like tan kidskin (with cork on the register key) instead of the traditional fish bladder: they last longer, seal better on older (uneven) tone holes, give a feel that is more similar to a fingertip and don't show dirt/wear as quickly. I separate out the pile of keys and start sizing new pads. Then, a dab of hot glue in the key-cup and the pad is pressed evenly into place. It takes practice to use just enough glue to get it far enough into the cup to close, but not so far that the back is open when you go to adjust! This will vary a lot from brand to brand, so make a note in your head when you tear down: what was in there, how thick, and was it a good fit...if so, go ye forth and do likewise...

 A final check of bodies, posts, springs, etc. and then I start reassembling, generally doing both stacks at the same time, working on one while the other has a pad clamped and cooling. I put the key on the instrument, making sure that its a snug fit but not binding and that the rod/screws are clean and oiled. Also, make sure that the key-cup is centered over the tone-hole and isn't higher on one side than the other; you'd be amazed what these go through in half a century!  Heat the pad cup for a couple seconds with the torch, use a pad slick to give the pad a twist and level it, check for even coverage with a feeler, then clamp lightly (I like flute pad clamps) for a minute and on to the next key.

Once all the keys are on and the pads are seated, I do simultaneous adjustments: upper A/Ab, (screw adjustment if you're lucky, otherwise find some sax pad leather), crows foot on the lower body. Removing lost motion while allowing pads to close at the same time with exactly the same amount of pressure is the trick. Sometimes more or less cork is called for...

            To be continued....


0 Comments

Your comment will be posted after it is approved.


Leave a Reply.

    Archives

    June 2022
    April 2022
    May 2021
    August 2020
    July 2020
    March 2020
    February 2020
    December 2019
    November 2019
    October 2019
    August 2019
    July 2019
    June 2019
    April 2019
    February 2019
    January 2019
    December 2018
    November 2018
    October 2018
    September 2018
    August 2018
    July 2018
    June 2018
    May 2018
    April 2018
    March 2018
    January 2018
    December 2017
    November 2017
    August 2017
    July 2017
    June 2017
    May 2017
    April 2017
    March 2017
    January 2017
    December 2016
    November 2016
    August 2016
    July 2016
    June 2016
    May 2016
    March 2016
    February 2016
    December 2015
    November 2015
    July 2015
    June 2015
    May 2015
    April 2015
    March 2015
    December 2014
    November 2014
    May 2014
    December 2013
    October 2013
    September 2013
    June 2013
    May 2013
    April 2013
    March 2013
    January 2013
    November 2012

    Picture

    Author

    The Licorice Shtick Blog is the creation of the Vintage Clarinet Doctor, a Winston Salem, NC based woodwind instrument repair shop specializing in vintage and antique clarinets, saxophones, and the occasional flute.

    Categories

    All
    Clarinet
    Mouthpiece
    Reed
    Saxophone

    RSS Feed

Powered by Create your own unique website with customizable templates.
  • Home
    • About Us
    • Clarinet Donations
    • Why Vintage Clarinets?
  • Before and After
  • Contact Us
  • Learn
    • Blog
    • Clarinet Lengths
    • Clarinet Makers
    • Fingering Systems
    • Links
  • Shop
    • Clarinets >
      • Vintage Jacques Albert Fils Brussels Bb Boehm Clarinet
      • Vintage Buffet Crampon Academy Model Bb Boehm Clarinet
      • Vintage Fernand Chapelain Bb LP Albert System Clarinet
      • Vintage Siour Chapelain Paris Bb Boehm Clarinet
      • Vintage Couesnon & Cie A Paris Bb Boehm Clarinet
      • Vintage J. Gras Paris Bb Boehm Clarinet
      • Vintage Lacroix C LP Albert System Clarinet
      • Vintage Leblanc CB Bb Boehm Clarinet
      • Vintage Leblanc Noblet Bb Boehm Clarinet​
      • Vintage Rampone Cazzani Bb Boehm Clarinet
      • Antique Henri Selmer Bb Boehm Clarinet
      • Vintage Triebert C LP Albert System Clarinet
    • Flutes
    • Mouthpieces
    • Saxophones >
      • Vintage Dolnet Series II Bb Tenor Saxophone
      • Vintage Holton Model 201 Eb Alto Saxophone
      • Vintage Kohlert Eb Alto Saxophone
  • Services
    • FAQ
    • Services II - Technical Info
  • Testimonials