 To finish up....
OK, everything closes, seals and is properly adjusted - you're done! Oh, wait a minute; there's the play test and final adjust....do all the notes speak clearly when I play a scale or arpeggio? Might need to open a couple side keys just a little for better venting. Is the lower joint stuffy or unplayable? Better check the adjustment on that bridge key...especially if you have an articulated C# or 7th ring Eb...they are pickier. Is the throat Bb stuffy vs. the side trill Bb? This is where the cork pad helps, as does running a small round file inside the register tube to make sure there's no gunk in there. Is the springing even? There's nothing worse then light/heavy/light/heavy springing for throwing off your fingering. Time to get out small pliers and a spring hook to adjust the tension on a few keys. Now, do you have large or small hands/fingers? Might be a good time to think about the position of the Eb banana key on the upper stack, the C# spatula, the B alt on the lower stack, and the relative height of the LH pinky spatulas and Alt F...you shouldn't have to fumble for them or bump other keys by mistake... I could go on, but I think you get the general idea why you might not want to 'Do It Yourself' on a vintage clarinet. There's an incredible amount of fine detail work, specialized tools and carefully honed skills....thanks for sticking it out! THE END
0 Comments
Your comment will be posted after it is approved.
Leave a Reply. |
Archives
February 2024
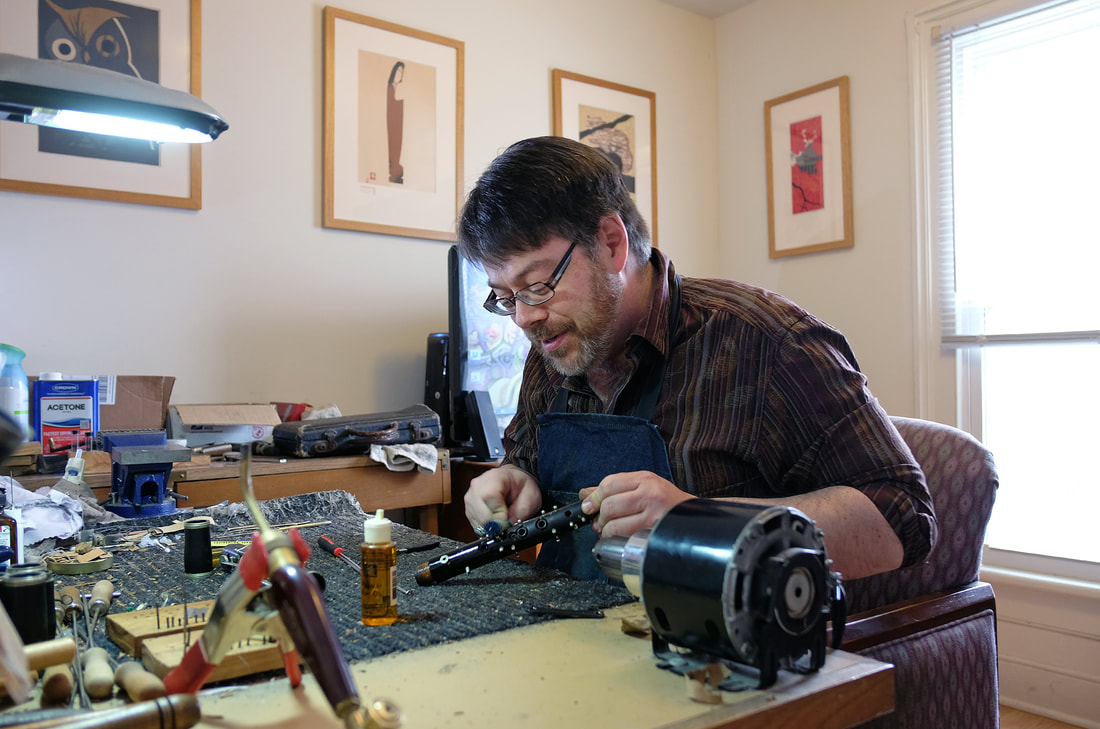
AuthorThe Licorice Shtick Blog is the creation of the Vintage Clarinet Doctor, a Winston Salem, NC based woodwind instrument repair shop specializing in vintage and antique clarinets, saxophones, and the occasional flute. Categories |
 RSS Feed