|
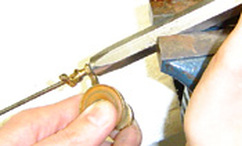
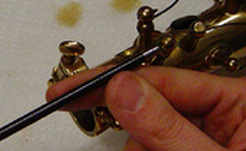
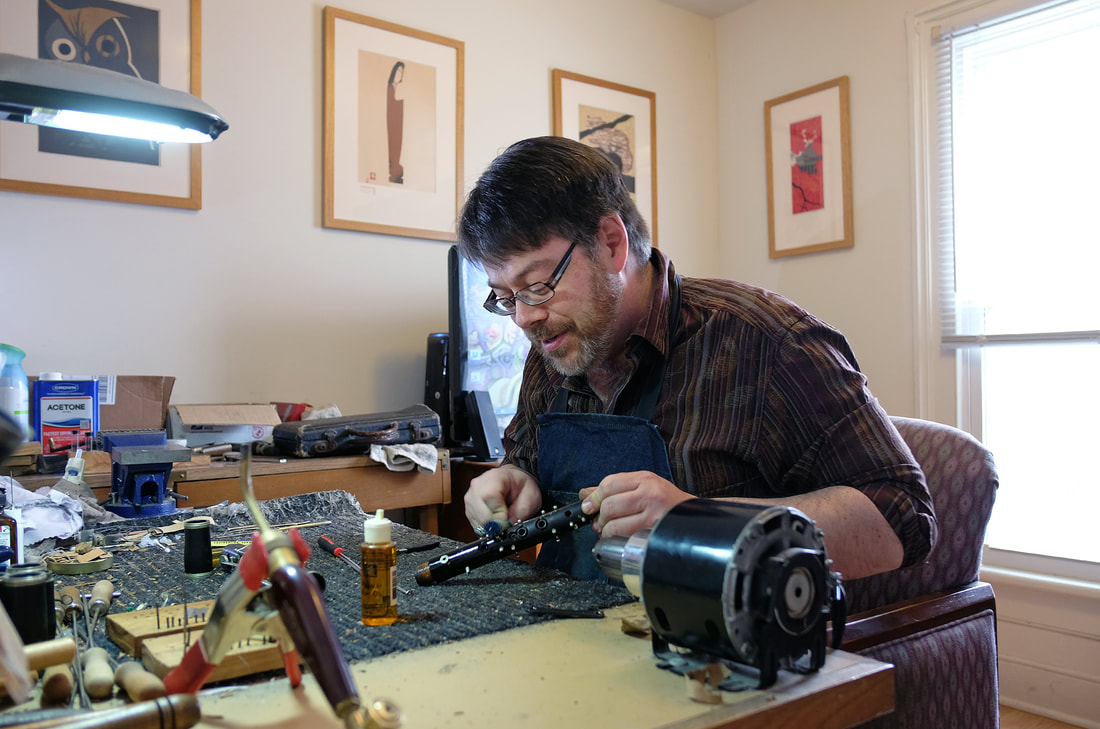
The foundation of any good overhaul is prep work. To overhaul student horns with modern tolerances, shiny plating etc., little is required other than cleaning, new pads, and fresh cork as needed. For a 40+ year old wooden clarinet, its a whole different story: many suffer from a myriad of afflictions, and one of the worst (and most noticeable) is loose keywork. Loose keywork is a given on any older instrument that has been regularly played, (largely due to metal loss from wear) and the fix is a simple one: about half an hour of swedging and countersinking will bring the mechanism back to near factory snugness. Ironically, although the procedure is straightforward and the tools inexpensive, I see a lot of rebuilt horns with loose keys. Even when the pad-work is well done, time and effort is largely thrown away due to noise, lost motion, and inconsistent pad seating. To simply clean and replace pads as though it were a modern student horn compromises the functionality of the instrument and wastes the time and money of its owner, as well as perpetuating the illusion that older horns simply can't compare to modern instruments in terms of playability. Here is the fix, in a nutshell:  Swedging a key Swedging a key Swedging - on any key that runs on a rod, the process of stretching the key's metal to bring it tight on the rod and snug against both posts. This is done by compressing the softer key material (brass or nickel alloy) between the steel rod and a steel swedging tool, giving the metal nowhere to go but out. Often, gaps are small, but even a significant amount of end-wear can generally be remedied by this method. It also helps minimize the wear that takes place inside the tube, bringing it back snug around the rod and thus minimizing play in two dimensions.  Countersinking a Post Countersinking a Post Countersinking - for a key that is held between 2 posts by screws, the general option is countersinking the screw hole in the post, allowing the point of the screw to extend further out the other side and take up lost motion in the key between them. As with swedging, this remedies both end- and side- play, stabilizing the key in two dimensions. Countersinks come in a variety of sizes and it is only necessary to measure the head of the screw to choose the correct one for the task. Then, a few twists in the hole, a test with the key, repeat on the other post, and you're done! Always do both posts, to avoid removing too much material from one and leaving the next tech nowhere to go...I try to think of the future when I work on a horn, having been the recipient of so much poor work in my time. Most older instruments only need a combination of the 2 treatments on a few, heavily used keys. But some clarinets, either more worn or with more generous manufacturing tolerances, require that the work be executed on most keys. It sounds onerous, but half an hour to forty five minutes is the maximum that I generally have to invest, unless I'm dealing with a really old horn, or one with an unusually complex mechanism (such as a Full Boehm). When both are done properly, the difference is like night and day: Tight, smooth, quiet keys, with pads that seat accurately every time! When next you consider an overhaul for your clarinet or sax, ask the tech if all needed swedging and countersinking is included in the estimate. If he says 'No', or looks confused, take your horn and get the heck out of there! You'll be glad you did...
0 Comments
Your comment will be posted after it is approved.
Leave a Reply. |
Archives
February 2024
AuthorThe Licorice Shtick Blog is the creation of the Vintage Clarinet Doctor, a Winston Salem, NC based woodwind instrument repair shop specializing in vintage and antique clarinets, saxophones, and the occasional flute. Categories |

 RSS Feed